 QuickMerge
Image to PDF Converter
Short answer: To combine images into one PDF, add the images, arrange them in order and download the PDF. QuickMerge builds the document in your browser without uploading the source images.
Convert JPG, PNG, and other images to high-quality PDF format. All processing happens locally in your browser.
How do I combine several images into one PDF?
Build your page order
Up to 20 images · 20 MB each · 100 MB per batch. Convert HEIC photos first.
Your PDF is ready
Open the download to check page order and small text. If the automatic download did not start, use this button.
One image per page, in the order you choose
Combine photos, screenshots or scans into a single PDF. The workspace checks that each selected file can be decoded before enabling conversion. Accepted images stay in the queue when another file fails, and the error identifies the rejected filename.
Create your PDF
- Choose images. Add JPG, PNG, WebP, GIF, BMP or AVIF that your browser can decode. GIF and other animated inputs become still images. For HEIC or HEIF, convert to JPG first.
- Check the queue. Inspect each thumbnail, filename and pixel dimensions. Use the arrow buttons to move an image earlier or later, or Remove to exclude it.
- Choose paper and orientation. A4, Letter and Legal are available. Match each image chooses portrait or landscape separately for each page.
- Set placement. Keep natural size uses 96 pixels per inch and shrinks oversized images to fit. Fit inside page margins scales each image into the available area. Both preserve proportions and center the image without cropping.
- Create PDF. The download starts when processing finishes. A visible Download PDF button remains available if the automatic save does not start.
Choose quality based on the document
With no target, decoded images are embedded as PNG, preserving transparency but potentially increasing the size of JPEG photographs. With a size target, the tool tries a fixed sequence of JPEG quality and dimension settings. Transparent areas become white. Every attempt starts from your selected images, and the status tells you whether the saved result reached the target.
For a receipt, inspect the date and total in the downloaded PDF. For a presentation image, check the full frame and page orientation. A PDF made from a photograph does not contain searchable text from that photograph; use OCR when you need text recognition.
Limits and upload errors
You can add up to 20 images, with 20 MB per file, 100 MB per batch and 40 megapixels per decoded image. These are application guards, not a promise that every device can process the maximum. Try fewer or smaller images if a tab closes or decoding runs out of memory.
A valid image can be accepted even when its operating-system MIME label is missing. Empty, corrupt and unsupported files produce an explanation. Renaming a document to .jpg does not convert its contents. If a supported-looking image cannot decode, export a fresh JPG or PNG from an application that can open it.
Review and start another batch
Check the first and last PDF page and compare the page count with the queue. Changing a setting clears the previous download result so it is not confused with a new configuration. Clear all removes the selected images and lets you build another document.
Processing happens in this browser tab. The PDF library is served by QuickMerge, and selected image bytes are not sent to a QuickMerge processing endpoint. See the privacy policy for site analytics and other network details.
Next steps
Before this step
- compress the photos first — the PDF is only as small as the images inside it.
- crop each image — so the pages are not mostly background.
- convert iPhone HEIC photos — so they can be placed in the document.
What to do with the result
- reorder the resulting pages — if the images came out in the wrong sequence.
Guides
- how to merge PDF files — for combining the PDF you just made with others.
Browse all PDF tools, or see every QuickMerge tool.
No completed size benchmark is published for this tool. See measurement coverage and limitations; stated upload limits are application guards, not tested device capacity.
Try a reproducible check
These downloadable fixtures are synthetic QuickMerge examples, with no customer data. They are small functional checks, not speed or size-limit benchmarks.
Test pattern (PNG). Open the tool.
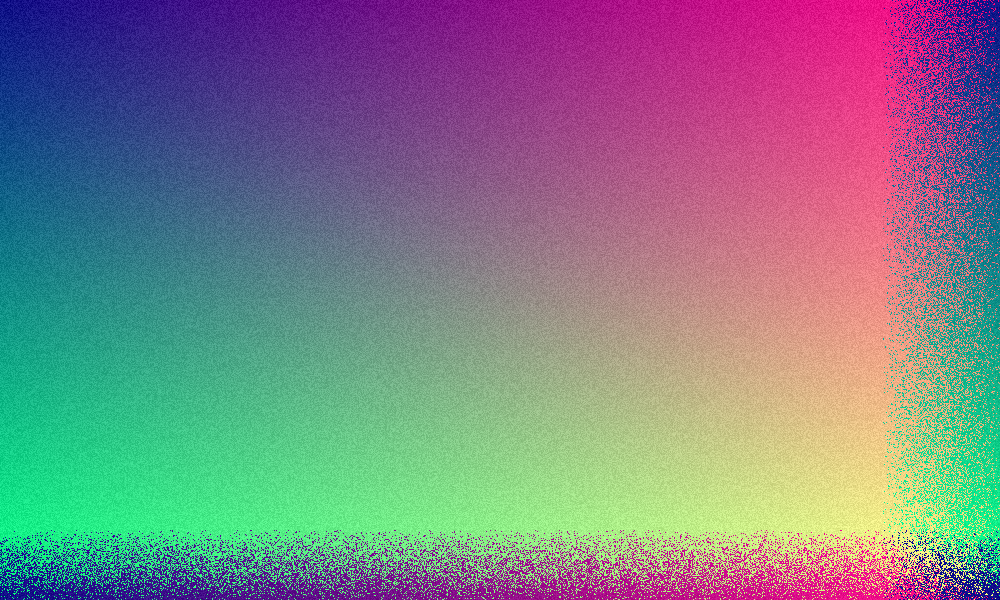
Convert the test pattern into one PDF page. Confirm that the full rectangle is visible without cropping, and inspect the page orientation. Image-to-PDF embeds a picture; it does not make pictured words searchable.
Frequently Asked Questions
No. Every image is read and assembled directly in your browser using the pdf-lib library. The selected files are processed locally without a QuickMerge upload endpoint. Review the privacy page for analytics and third-party code details.
You can mix JPG, PNG, GIF, BMP, WebP, and browser-supported AVIF images in the same PDF. There is no need to convert them to a single format first; the tool handles each one and places it on its own page.
Up to 20 images per PDF, with each file up to 20 MB. If you have more than 20, build several PDFs and, if needed, merge them afterward with a separate PDF merge tool.
Use the arrow buttons beside each thumbnail to move it earlier or later. The Page order control also offers filename sorting or reverse order. Check the queue before creating the PDF.
With no target, the decoded pixels are stored as PNG, which can increase the size of JPEG photos. A size target uses JPEG compression and may reduce pixel dimensions. Check small text and detail in the downloaded result.
Because a size target forces JPEG, the only format whose size responds to a quality setting, and JPEG has no transparency. The image is flattened onto white. Leave the target off to keep PNG and WebP transparency.
How to convert JPG to PDF at 100KB, 200KB or 300KB
Place selected images on PDF pages, then compare the saved size with the recipient’s requirement.
Set the page plan and target
Choose the image order and available page settings before export. A byte target makes the tool try quality and scale steps while measuring candidate PDFs. Check its final size message: a requested cap is not a guaranteed output size.
A target is an attempt
Image dimensions, scene detail, quality and page count determine the output size. Check actual bytes and small text after export. No fixed number of pages is guaranteed to fit a cap.
Transparency is lost when a target is set
Reaching a byte target means JPEG, because it is the only format here whose size responds to a quality setting. JPEG has no alpha channel, so a PNG with a transparent background is flattened onto white. That is the right trade for a photograph and the wrong one for a logo — leave the target off and the original format is preserved, transparency intact.
When the cap cannot be met
The search stops at a fixed set of quality and dimension steps rather than shrinking indefinitely, so a set of photographs that cannot reach the cap comes back at the smallest size produced, with the quality and scale it settled on named. It does not silently hand you a file that misses. At that point the only remaining levers are fewer images or smaller ones — cropping to the part that matters with the cropper usually recovers more than any further quality reduction.